You had your digital scans taken and your orthodontist created a personalized treatment plan for you on a 3D model of your mouth. If you’re one of our Brooklyn Invisalign patients, I can even show you what your new smile will look like when you finish treatment on our Invisalign Outcome Simulator. Once the Invisalign lab fabricates your clear aligners based on your custom treatment plan, you’ll receive your first Invisalign trays and officially begin your smile journey.
So, what happens in the first week of Invisalign treatment? Here are 7 things you should know:
Mild Tenderness is Normal
The good news is, you won’t feel significant Invisalign pain the first week, or at any time during your treatment. However, mild tenderness or soreness with Invisalign is to be expected when you pop in your first set of aligners and, occasionally, when you switch to a new tray. This is because your aligners are exerting continuous, gentle pressure to shift your teeth into place. If you have a bit of Invisalign soreness, it just means your aligners are working!
How long does Invisalign hurt? Discomfort will go away in less than a week with your first Invisalign tray. With future trays, tenderness usually only lasts for a day or two.
Managing Mild Invisalign Pain the First Week of Treatment
- Stick with foods that require minimal chewing for the first few days. Smoothies, milkshakes, yogurt, applesauce, ripe bananas, oatmeal, soup, scrambled eggs, protein shakes, and mashed potatoes are all excellent soft foods for sore teeth. You can jump right back into your usual diet when the tenderness improves.
- Put your first Invisalign tray in at night. In fact, you might want to make it a habit throughout your treatment to always put in new aligners before bed. This way, you’ll sleep through the initial eight hours or so of tenderness. By the time you wake up in the morning, your aligners will be slightly less tight and discomfort should be beginning to wane.
- Swish with a saltwater rinse as often as needed. Dissolve a teaspoon of salt in a glass of warm water. Swish the solution around in your mouth for about 30 seconds, spit it out, and repeat until you finish the glass. This is helpful if you feel the edge of the aligners rubbing against your lip or cheek.
- Continue wearing your aligners. If your Invisalign hurts, it can be tempting to stop wearing them. But, the more you wear them, the more quickly discomfort will go away. Even if your teeth are sore, wear the aligners for the full 22 hours per day, or even more if possible.
- If the tips above don’t help with Invisalign pain, you can take an over-the-counter pain reliever (whatever you’d normally take for a headache).
- If a rough edge on your Invisalign aligner is hurting you or causing sores or irritation, give our office a call. We can smooth it down or walk you through how to do it at home. A lot of times, an emery board nail file will do the trick to gently polish an annoying spot on your aligner.
Your Invisalign Aligners Will be Tight Initially
Each set of Invisalign aligners is designed to achieve specific tooth movements. When you put in your first Invisalign tray and, often, when changing to a new set, the aligners will feel very snug. As you wear them, and your teeth shift, the aligners will loosen up.
To improve the way the aligners fit against your teeth, it’s recommended that you use your Invisalign chewies, or bite sticks, for 10 to 15 minutes a day. This will massage the aligners onto your teeth for the ideal Invisalign fit.
It Might Feel Weird to Talk
It takes some time for you to acclimate to having the aligners in your mouth. Some patients find they have a lisp during their first week of Invisalign treatment. Your best bet is to talk as much as you can. Read aloud to yourself, sing along to your favorite songs, or call a friend and talk on the phone. Temporarily becoming a chatterbox will help you get used to your aligners more quickly and your speech will return to normal.
You Might Find Yourself Snacking Less Frequently
You’ll take your aligners out to brush and floss, eat, and drink anything aside from plain water (I have a comprehensive post on drinking and eating with Invisalign here if you want more information). Afterwards, you’ll put your aligners back in so you can meet the recommended 22 hours of daily wear.
Because of the need to take your aligners in and out, it makes you much more aware of just how often you snack or sip on beverages throughout the day. I think a lot of patients are surprised by this at first and find they snack less during their treatment.
While You’ll Become a Pro at Inserting and Removing Your Aligners Soon Enough, There is a Learning Curve
Speaking of the need to take your aligners out and put them back in, it might seem like a pretty simple thing to do. However, it can be a little bit challenging at first, especially if you have attachments bonded to your teeth. I promise, you’ll get the hang of it in no time and be able to do it smoothly and discreetly.
To help, I’m sharing some pointers for inserting and removing Invisalign aligners.
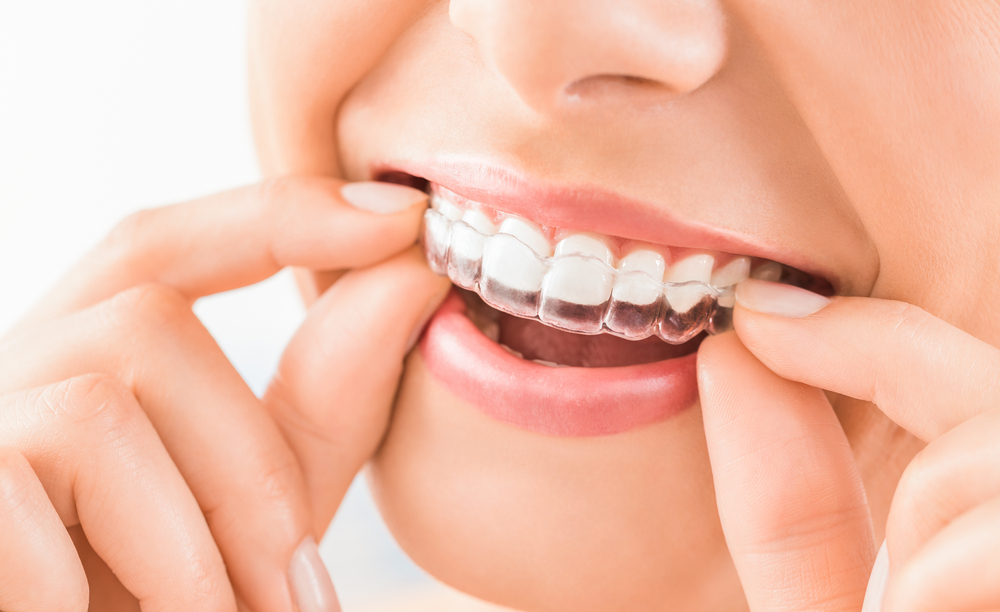
How to Put In Invisalign Aligners:
- First, make sure you’re putting the correct aligner on the correct arch (i.e., upper aligner is going on the upper teeth and lower aligner is going on the lower teeth).
- Push the aligner over the front teeth and then apply gentle pressure along the length of the aligner all the way to the back, so that it snaps over your molars. When your aligner is in, use your thumbs to fully seat it.
- Don’t force your aligners in or try to bite them into place. If your Invisalign fit seems off or like it’s not tight enough, use your chewies or bite sticks to massage them into place.
How to Remove Your Invisalign Aligners:
- To remove your aligners, hook your finger over the edge of the aligner behind your back molar (on the tongue side) and pull it out and away. Repeat the process on the other side of your mouth. You can then hook your finger over the edge of the aligner behind your front teeth. Once the aligner releases, grip both sides and gently pull it all of the way out.
- If you’re struggling, you can try to wiggle the tray a little to help get it off.
- Never stick objects between the aligners and your teeth in an attempt to take them out because it can damage your enamel.
You’ll Want to Make Your Invisalign Case Your New BFF
The fact that Invisalign aligners are virtually invisible and removable is a huge bonus. On the other hand, it also makes them extremely easy to lose.
Whenever you take your aligners out to eat and drink (or even to brush and floss if you have pets), put them in your Invisalign case. Setting them down on a napkin or a tissue is a surefire way to accidentally throw them away, and you don’t want to have to dig through the trash to find them.
If you have trouble keeping track of your case, consider storing it in a larger case like a cosmetic or toiletry bag or adorning it with flashy stickers.
Cleaning Invisalign Trays is Easy (And Necessary!)
As you wear your Invisalign aligners, spit and plaque will build up on them. To keep them clear and stink-free, clean them in the morning and before bed. It’s also a good idea to rinse them off before putting them back in your mouth after eating.
As for how to clean Invisalign, there are Invisalign cleaning crystals and other products available for purchase.
But the easiest way is to brush your aligners with a soft-bristled toothbrush (don’t use toothpaste because it can scratch the plastic) and then rinse them in lukewarm water. For a more thorough clean, you can also use a mild, unscented dishwashing soap along with your toothbrush.
Connect with a Brooklyn Invisalign Provider!
Now that you have the details on everything from how to manage Invisalign pain the first week to how to clean your aligners, I hope you feel confident about starting treatment. If you have any questions I didn’t answer, give us a call.
Or, if you haven’t visited an orthodontist yet and want to find out if Invisalign is right for you, schedule a free consultation at Fresh Orthodontics in Brooklyn today!